Installasjon av WordPress
Sveip for å vise menyen
Hvis du nettopp har kjøpt ditt webhotell og koblet til et eget domene, kan det ta opptil 24 timer før navnetjenerne er fullstendig oppdatert på internett.
Trinnvis installasjon av WordPress


- Logg inn på din HostGator Kundeportal. Du finner lenken i velkomst-e-posten din;
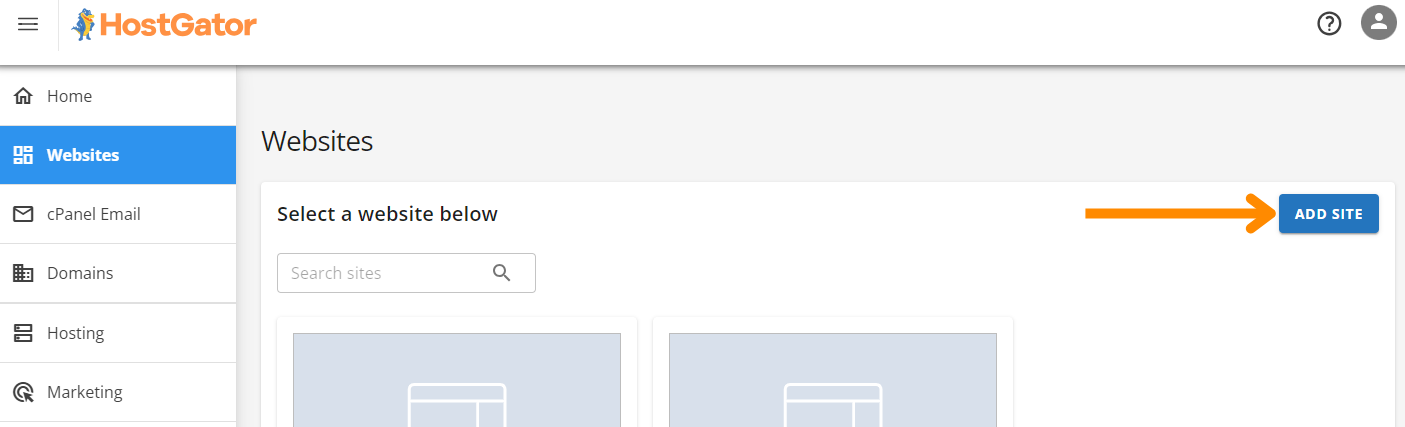
- Gå til fanen Nettsteder;
- Klikk på Legg til nettsted;
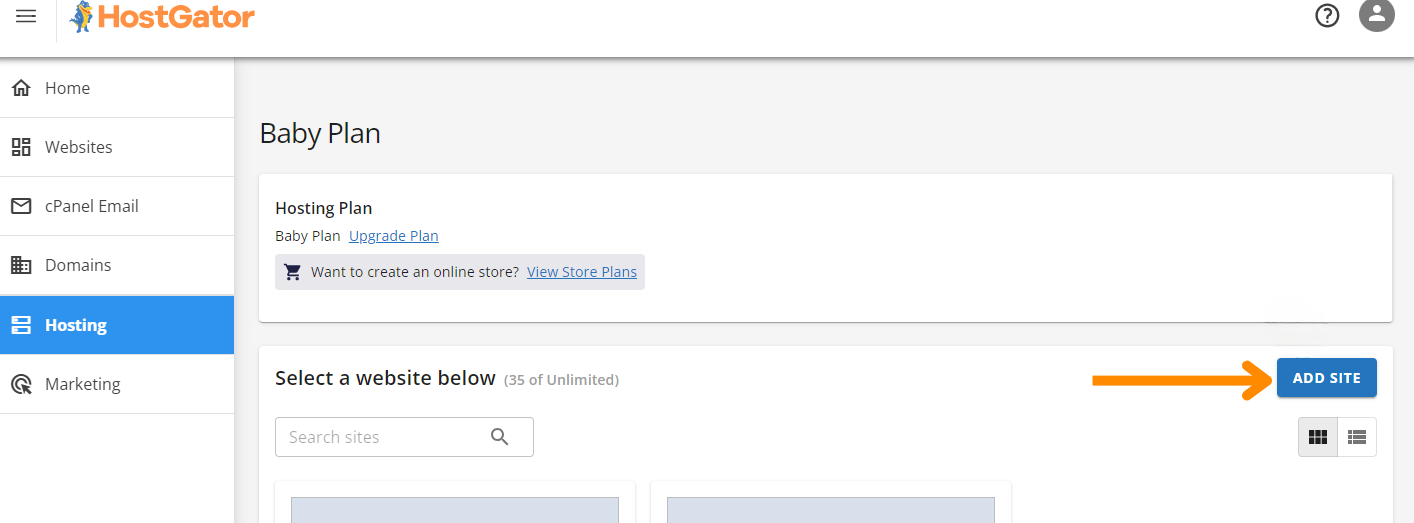
- Velg webhotellpakken → klikk Administrer;
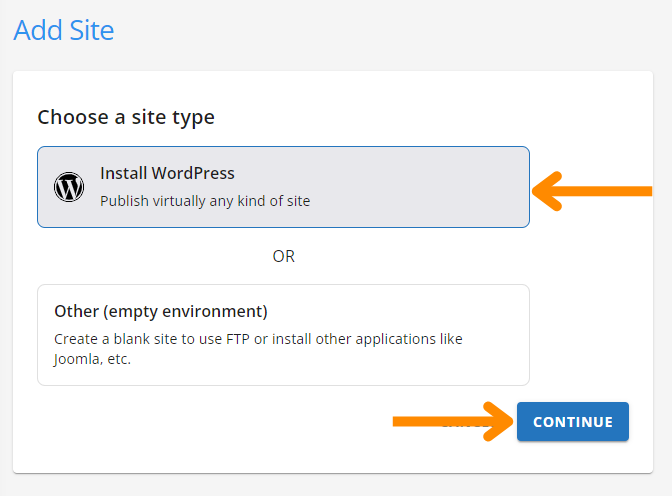
- Klikk på Legg til nettsted igjen, og velg deretter Installer WordPress → Fortsett;
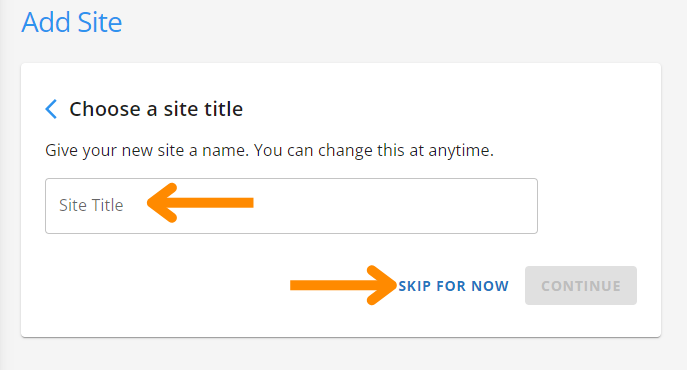
- (Valgfritt) Skriv inn en Nettstedstittel eller klikk Hopp over for nå;
- Velg ett av følgende alternativer:
- Koble til ditt domene (f.eks. yourproject.com);
- Bruk et midlertidig domene;
- Hopp over for nå.
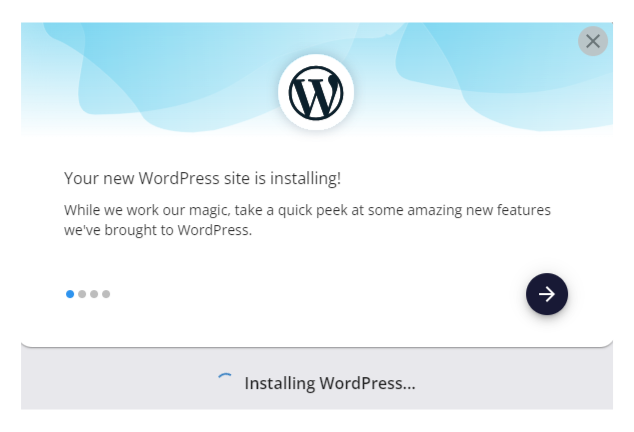
- WordPress vil begynne å installeres automatisk.
Hvordan få tilgang til WordPress-dashbordet ditt
Du har to måter å logge inn på:
- Via HostGator-portalen (anbefalt). Gå til Nettsteder-seksjonen og klikk Rediger nettsted under ditt nye nettsted;
- Via nettleseren din. Gå til:
https://yourdomain.com/wp-adminog logg inn med brukernavnet og passordet du valgte under installasjonen.
Vil du lære mer?
Hvis du trenger hjelp med å tilpasse WordPress-nettstedet ditt, eller ønsker å lære mer avanserte ting senere som sikkerhetskopiering, sikkerhet eller testmiljøer, besøk: https://www.hostgator.com/help. Deres kunnskapsbase har mange veiledninger med skjermbilder og trinnvise instruksjoner.
Alt var klart?
Takk for tilbakemeldingene dine!
Seksjon 1. Kapittel 3
Spør AI
Spør AI

Spør om hva du vil, eller prøv ett av de foreslåtte spørsmålene for å starte chatten vår
Seksjon 1. Kapittel 3
