Section 5. Chapter 5
Creating and Managing Tables in Excel
Swipe to show menu
Tables help you organize data in Excel in a structured and efficient way. They automatically apply formatting, enable built-in filtering and sorting, allow the use of structured references in formulas, and make data analysis more convenient and reliable.
Key Points
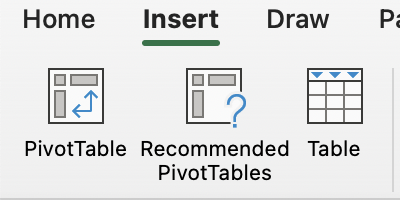
- Use Table in the Insert tab → Tables group to convert a data range into a structured table and enable headers;
- Press
Tabin the last cell of a table to quickly add a new row; - Enter formulas directly in table columns to calculate values, such as multiplying cells from the same row to compute revenue.
Essential Keyboard Shortcuts
Task
Swipe to start coding
- Select the data range
A3:I23.- Excel workflow:
Inserttab →Tablesgroup → clickTable→ tickMy table has headers→OK. - Platform workflow:
Datatab → clickTable→ review the selected range → clickConfirm.
- Excel workflow:
- Insert a new table column before the last column.
- Excel workflow: right-click the header of the last column →
Insert→Table Columns to the Left. - Platform workflow: right-click the header of the last column →
Insert Table→Insert Table Column.
- Excel workflow: right-click the header of the last column →
 Switch to desktop for real-world practiceContinue from where you are using one of the options below
Everything was clear?
Thanks for your feedback!
Section 5. Chapter 5
Ask AI

Ask AI

Ask anything or try one of the suggested questions to begin our chat
