Section 2. Chapter 1
Excel Cell Formatting
Swipe to show menu
Formatting cells in Excel is fantastic for making your spreadsheets not only easier to read but also more professional.
Key Points
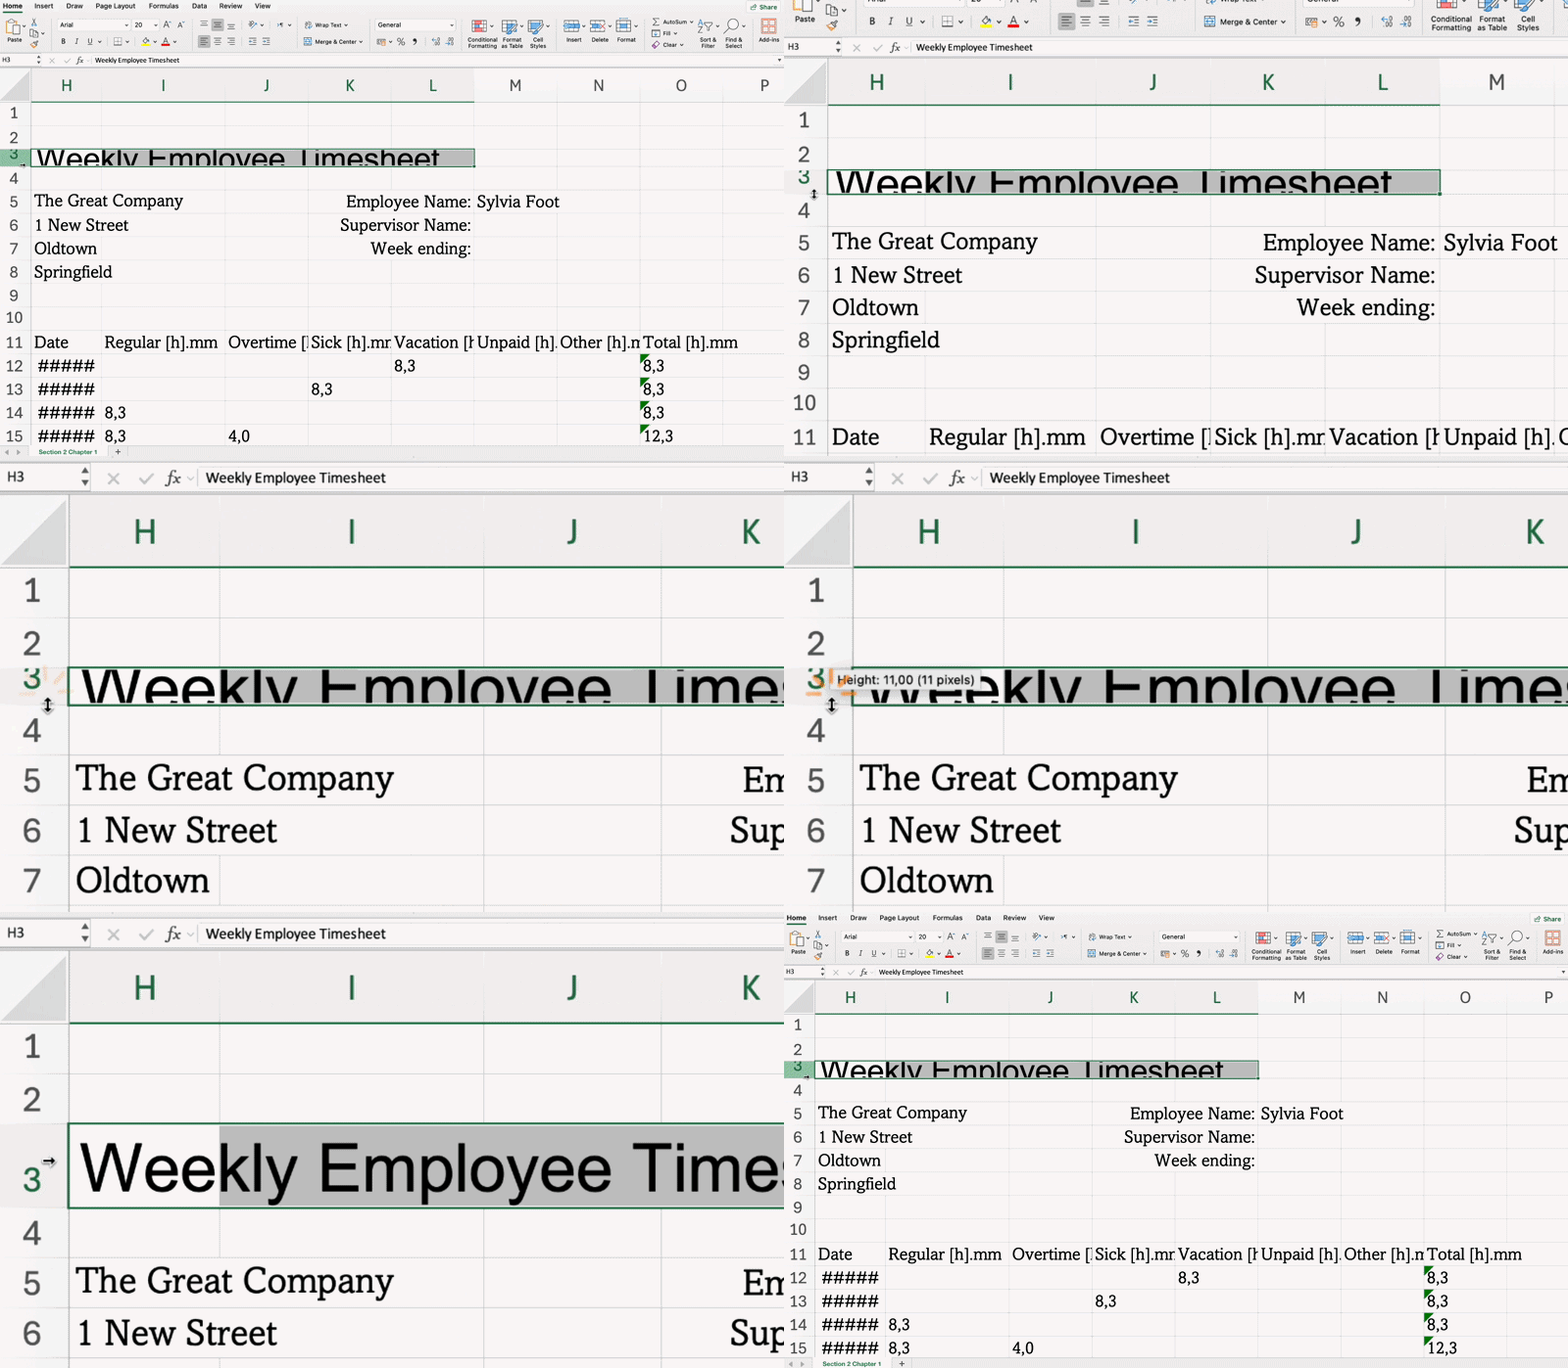
- Adjust row height and column width by dragging or double-clicking borders, or via Row Height/Column Width from the right-click menu;
- Add borders with Borders in the Home tab → Font group;
- Apply background color using Fill Color in the Home tab → Font group;
- Use Wrap Text to display all content without widening the column in the Home tab → Alignment group;
- Combine cells and center content with Merge & Center in the Home tab → Alignment group;
- Set vertical and horizontal alignment in the Home tab → Alignment group.

Essential Keyboard Shortcuts
Task
Swipe to start coding
-
Select
Row 1and double-click the bottom border to AutoFit the row height. -
Resize
column Aby dragging its right border so the title is fully visible. -
Select
columns B–H, right-click →Column Width...→ setColumn Widthto130 px. -
Select
B10:H16.- Excel workflow:
Hometab →Fontgroup →Borders→All Borders. - Platform workflow:
Starttab →Fontgroup →Borders→All Borders.
- Excel workflow:
-
Select
B18:H18.- Excel workflow:
Hometab →Fontgroup →Borders→All Borders. - Platform workflow:
Starttab →Fontgroup →Borders→All Borders.
- Excel workflow:
-
Select
A9:H9.- Excel workflow:
Hometab →Fontgroup →Fill Color→ choose a color. Repeat forA17:H17andA10:A16. - Platform workflow:
Starttab →Fontgroup →Fill Color→ choose a color. Repeat forA17:H17andA10:A16.
- Excel workflow:
-
Select
A1:D1.- Excel workflow:
Hometab →Alignmentgroup →Merge & Center. - Platform workflow:
Starttab →Alignmentgroup →Merge & Center.
- Excel workflow:
 Switch to desktop for real-world practiceContinue from where you are using one of the options below
Everything was clear?
Thanks for your feedback!
Section 2. Chapter 1
Ask AI

Ask AI

Ask anything or try one of the suggested questions to begin our chat
